Best MIDI Controllers to Assign to Software Parameters to Buy in July 2026
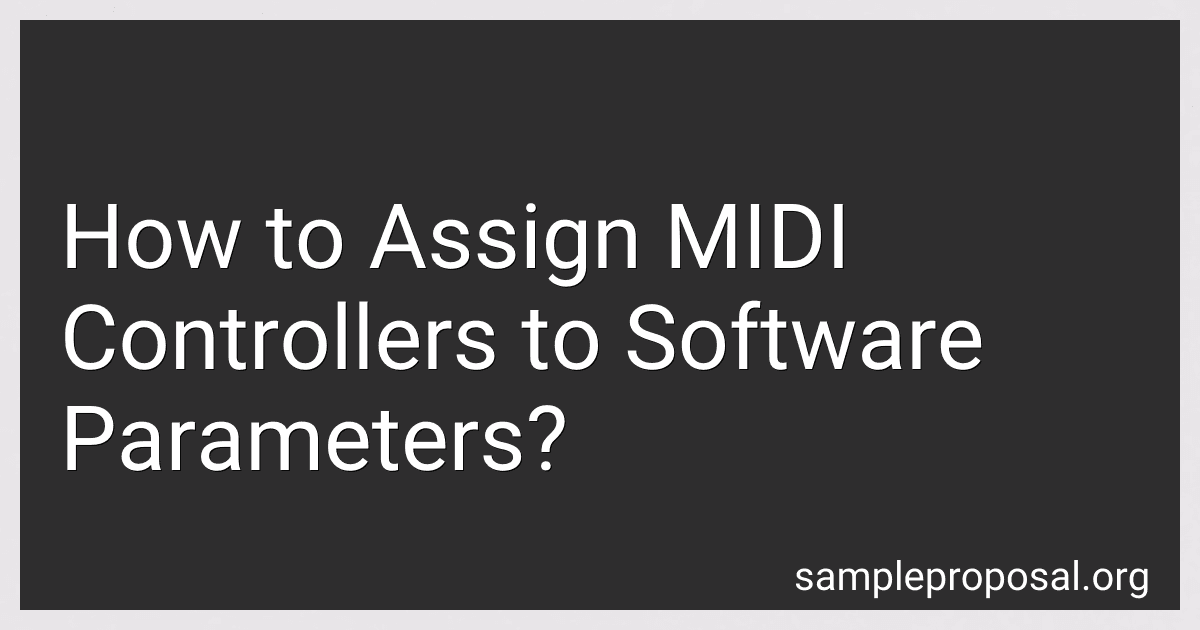
Akai Professional MPK Mini MK3-25 Key USB MIDI Keyboard Controller With 8 Backlit Drum Pads, 8 Knobs, Music Production Software and Native Instruments Sound Package (NKS Integration)
-
COMPACT MIDI CONTROLLER: 25 VELOCITY-SENSITIVE KEYS FOR DYNAMIC MUSIC CREATION.
-
TOTAL CONTROL: 4-WAY THUMBSTICK AND ARPEGGIATOR FOR ADVANCED PRODUCTION.
-
EXCLUSIVE NKS BUNDLE: ACCESS CURATED SOUND LIBRARIES AND PRESETS.


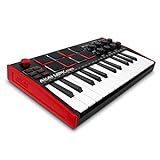
Akai Professional MPK Mini MK3-25 Key USB MIDI Keyboard Controller With 8 Backlit Drum Pads, 8 Knobs, Music Production Software and Native Instruments Sound Package (NKS Integration), Black
-
DYNAMIC CONTROL: 4-WAY THUMBSTICK FOR PITCH/MODULATION EASE.
-
NKS INTEGRATION: SEAMLESS CONTROL OF NATIVE INSTRUMENTS PRESETS.
-
PRO STARTER KIT: 1500+ SOUNDS AND SOFTWARE FOR YOUR MUSIC JOURNEY.
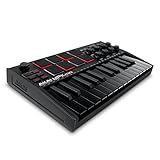
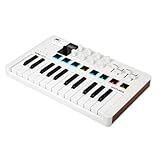
Akai Professional MPK Mini MK3-25 Key USB MIDI Keyboard Controller With 8 Backlit Drum Pads, 8 Knobs, Music Production Software and Native Instruments Sound Package (NKS Integration), White
-
VERSATILE MIDI CONTROLLER - 25 MINI KEYS AND 8 MPC PADS FOR DYNAMIC CONTROL.
-
TOTAL PRODUCTION CONTROL - 4-WAY THUMBSTICK AND BUILT-IN ARPEGGIATOR ENHANCE CREATIVITY.
-
EXCLUSIVE NKS BUNDLE - ACCESS CURATED SOUND LIBRARIES AND PRESETS WITH EASE.

RockJam 25 Key Bluetooth Midi Keyboard
- WIRELESS FREEDOM: CONNECT VIA BLUETOOTH FOR A CLUTTER-FREE SETUP.
- RECHARGEABLE BATTERY: PLAY MUSIC ANYWHERE WITH THE BUILT-IN BATTERY.
- VERSATILE CONTROLS: 8 BACKLIT PADS & CONTROL KNOBS FOR CREATIVE FLEXIBILITY.
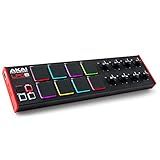
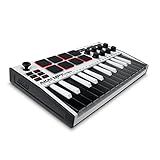
Akai Professional LPD8 - USB MIDI Controller with 8 Responsive RGB MPC Drum Pads for Mac and PC, 8 Assignable Knobs and Music Production Software
- RESPONSIVE RGB PADS: TRIGGER SAMPLES WITH 8 BACKLIT MPC DRUM PADS.
- SEAMLESS CONTROL: 8 ASSIGNABLE KNOBS FOR PRECISE DAW MIXING.
- PORTABLE & STURDY: LIGHTWEIGHT DESIGN FITS IN YOUR LAPTOP BAG EASILY.

Akai Professional MPK Mini Plus - USB MIDI Keyboard Controller with 37 Mini Keys, 8 MPC Pads, Sequencer, MIDI/CV/Gate I/O and Native Instruments Sound Package, White Limited Edition
- FULL CREATIVE CONTROL WITH 37-KEY MPK MINI FOR 3 OCTAVES.
- ADVANCED CONNECTIVITY FOR SEAMLESS INTEGRATION WITH SOUND SOURCES.
- RECORD WITHOUT A COMPUTER USING THE BUILT-IN 64-STEP SEQUENCER.
Arturia MiniLab 3 - Universal MIDI Controller for Music Production, with All-in-One Software Package - 25 Keys, 8 Multi-Color Pads - White
- ADAPTABLE DESIGN FOR SEAMLESS INTEGRATION INTO YOUR WORKFLOW.
- PREMIUM VELOCITY-SENSITIVE KEYS FOR EXPRESSIVE MUSIC CREATION.
- INTUITIVE CONTROL WITH 8 PADS AND 4 FADERS FOR FLUID PERFORMANCE.
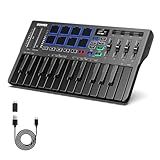
Donner USB-C MIDI Keyboard Controller, 25 Key Portable Mini MIDI Keyboard with 8 Drum Pads, OLED Display, 16 Smart Scales, Arpeggio, Replay, 4 DAW Software and 40 Teaching Courses, DMK 25 Pro Black
-
SMART DYNAMIC SCALE MODE: EFFORTLESSLY SWITCH BETWEEN GENRES WITH EASE!
-
REAL-TIME MULTI-MODE CONTROL: UNLOCK CREATIVITY WITH ARPEGGIOS & NOTE REPEATS!
-
40 KEYBOARD-TEACHING COURSES: MASTER MUSIC ARRANGEMENT FROM BEGINNER TO PRO!
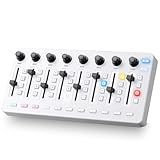
Vangoa Wireless Midi Controller Mixer Mute, Portable USB Midi Keyboard controlador Mixing Console 43 Backlit Button, 8 Channel Faders with LED indicator, 8 Assignable Endless Knobs for Daw, Mac, PC
-
UNLEASH CREATIVITY WITH 43 BACKLIT BUTTONS FOR INSTANT MUSIC CONTROL!
-
MASTER YOUR SOUND WITH 8 LED FADERS FOR DYNAMIC TRACK MANIPULATION.
-
PORTABLE DESIGN LETS YOU PRODUCE MUSIC ANYTIME, ANYWHERE!
To assign MIDI controllers to software parameters, first open the software interface that you want to assign the controllers to. Typically, this can be done in a preferences or settings menu within the software.
Next, access the MIDI mapping or MIDI learn feature within the software. This feature allows you to assign specific MIDI controllers, such as knobs, faders, buttons, or pads, to control different parameters within the software.
Once you have accessed the MIDI mapping feature, select the parameter you want to control and then move or press the corresponding MIDI controller that you want to assign to it. The software should recognize the MIDI controller and assign it to the selected parameter.
You can continue this process for as many parameters as you want to control with MIDI controllers. Make sure to save your MIDI mapping settings in the software to ensure they are applied every time you open the software.
After assigning the MIDI controllers to software parameters, you can now use the physical MIDI controllers to control and adjust various settings and parameters within the software in real-time.
How to calibrate MIDI controllers in software?
Calibrating MIDI controllers in software typically involves setting the minimum and maximum MIDI values that the controller can send, as well as adjusting any sensitivity settings. Here's how you can calibrate MIDI controllers in some popular software programs:
- Ableton Live:
- Open Ableton Live and go to the Preferences menu.
- Click on the MIDI tab.
- In the list of MIDI devices, select the MIDI controller you want to calibrate.
- Click on the input and output drop-down menus to configure the MIDI settings.
- You may need to adjust the MIDI mapping of your controller to match the software's controls.
- FL Studio:
- Open FL Studio and go to the Options menu.
- Click on MIDI settings.
- In the Input section, select your MIDI controller from the drop-down menu.
- Adjust the Controller type, MIDI channel, and options as needed to calibrate your controller.
- Pro Tools:
- Open Pro Tools and go to the Setup menu.
- Click on the MIDI tab.
- In the Controllers section, select your MIDI controller from the drop-down menu.
- Adjust the MIDI settings as needed to calibrate the controller.
- Logic Pro:
- Open Logic Pro and go to the Preferences menu.
- Click on the MIDI tab.
- In the MIDI Devices section, select your MIDI controller.
- Adjust the MIDI settings, such as MIDI Input Channel and controls, to calibrate the controller.
Remember that the exact steps may vary depending on the software you are using, so be sure to consult the software's documentation for specific instructions on how to calibrate MIDI controllers.
How to assign MIDI controllers to transport controls in software?
To assign MIDI controllers to transport controls in software, follow these steps:
- Open the software you are using for music production or recording.
- Go to the software's settings, preferences, or options menu.
- Look for a section related to MIDI control, MIDI mapping, or controller assignments.
- In this section, you should see a list of transport controls such as play, stop, record, fast forward, rewind, etc.
- Click on the control you want to assign a MIDI controller to, and then move or press the desired MIDI controller (such as a knob, fader, or button) on your MIDI controller hardware.
- The software should recognize the MIDI input and assign it to the selected transport control.
- Repeat this process for any other transport controls you want to assign to MIDI controllers.
- Test the MIDI controls to make sure they are working correctly with the transport controls in the software.
- Save your MIDI controller assignments if the software allows you to do so.
- You should now be able to control the transport functions in the software using your MIDI controllers.
How to assign MIDI controllers to software parameters in Logic Pro?
To assign MIDI controllers to software parameters in Logic Pro, follow these steps:
- Open your Logic Pro project and go to the Preferences menu by clicking on "Logic Pro" in the top menu bar and selecting "Preferences."
- In the Preferences window, click on the "Control Surfaces" tab and then select "MIDI Controllers."
- Click on the "Learn" button next to the parameter you want to control with a MIDI controller.
- Move the physical control on your MIDI controller that you want to assign to that parameter. Logic Pro will then learn and assign that control to the parameter.
- Repeat this process for other parameters you wish to control with MIDI controllers.
- You can also manually assign MIDI controllers to software parameters by clicking on the "Assign" button next to the parameter and then selecting the MIDI controller you want to assign from the drop-down menu.
- Once you have assigned all the MIDI controllers you want, click on "Apply Changes" and then close the Preferences window.
Your MIDI controllers should now be successfully assigned to the software parameters in Logic Pro, allowing you to control them in real-time while working on your project.
How to assign MIDI controllers to time signature parameters in software?
To assign MIDI controllers to time signature parameters in software, you will first need to check if the software you are using allows for MIDI mapping and control. Many DAWs and music production software have this feature.
Here is a general step-by-step guide on how to assign MIDI controllers to time signature parameters in software:
- Open the software and create a new project or session.
- Go to the MIDI mapping or control settings within the software. This is usually found in the preferences or settings menu.
- Look for the option to map MIDI controllers to parameters. Select which parameter you want to assign a MIDI controller to, in this case, the time signature parameter.
- Press or move the MIDI controller you want to assign to the parameter. The software should recognize the MIDI input and assign it to the parameter.
- Test the MIDI controller by adjusting it and seeing if it affects the time signature parameter in the software. Make any necessary adjustments to the mapping if needed.
- Save your settings and configurations, so they are applied each time you open the software.
- You can now use the assigned MIDI controller to adjust the time signature parameters in the software.
Remember that the specific steps may vary depending on the software you are using, so make sure to consult the software's documentation or help resources for more detailed instructions.
What is the significance of MIDI controller assignments in software?
MIDI controller assignments in software allow users to control various parameters of the software instruments and effects using external MIDI controllers. This provides a more intuitive and hands-on way of interacting with the software, allowing for more dynamic and expressive performances.
By assigning MIDI controllers to specific parameters within the software, users can easily control things like volume, pitch, modulation, and effects parameters in real-time. This can greatly enhance the creative possibilities and musicality of the performance, as it allows for more fluid and responsive control over the sound.
Overall, MIDI controller assignments in software can help to bridge the gap between traditional hardware instruments and digital software, providing a more interactive and engaging musical experience for users.