Best MIDI Controllers Customization Tools to Buy in July 2026
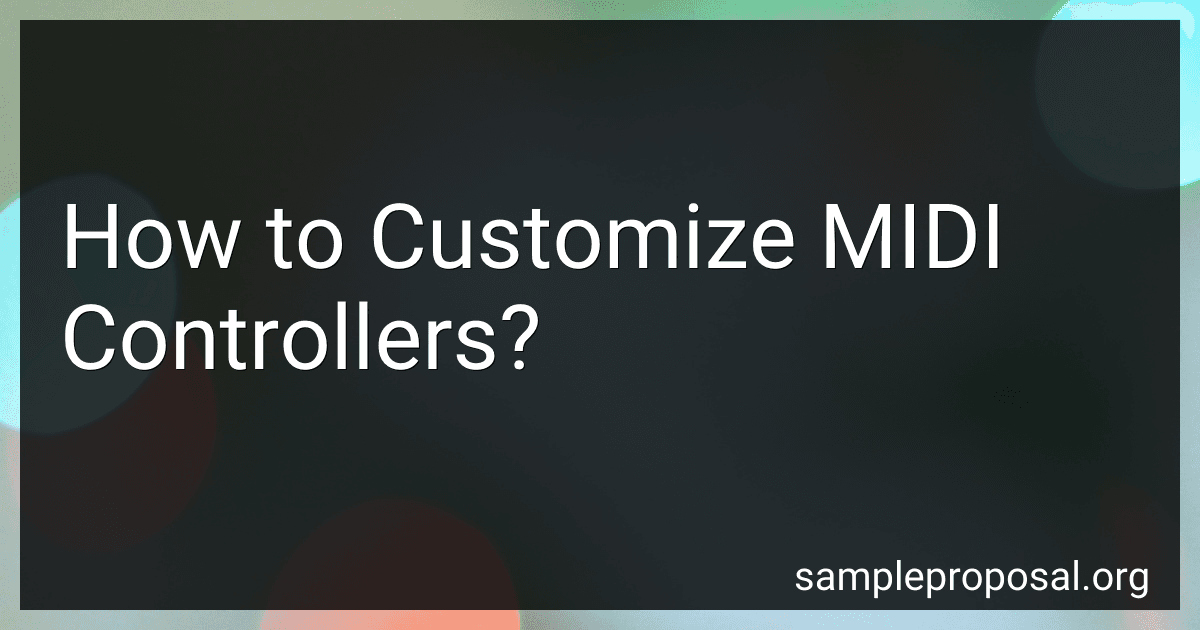
Akai Professional MPK Mini MK3-25 Key USB MIDI Keyboard Controller With 8 Backlit Drum Pads, 8 Knobs, Music Production Software and Native Instruments Sound Package (NKS Integration)
- DYNAMIC CONTROL: 4-WAY THUMBSTICK FOR PITCH/MODULATION FLEXIBILITY.
- EXCLUSIVE NKS BUNDLE: CHOOSE FROM CUSTOM SOUND LIBRARIES FOR FREE.
- ALL-IN-ONE KIT: 1500+ SOUNDS FOR COMPLETE MUSIC PRODUCTION SETUP.


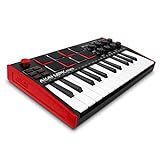
Akai Professional MPK Mini MK3-25 Key USB MIDI Keyboard Controller With 8 Backlit Drum Pads, 8 Knobs, Music Production Software and Native Instruments Sound Package (NKS Integration), Black
- DYNAMIC CONTROL: 4-WAY THUMBSTICK FOR PITCH AND MODULATION PRECISION.
- VERSATILE INTEGRATION: NKS SUPPORT FOR SEAMLESS WORKFLOW WITH PLUGINS.
- EXCLUSIVE BUNDLES: CHOOSE FROM CURATED KOMPLETE 15 SELECT SOUND PACKS.
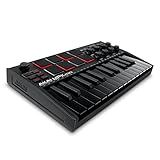
Akai Professional MPK Mini MK3-25 Key USB MIDI Keyboard Controller With 8 Backlit Drum Pads, 8 Knobs, Music Production Software and Native Instruments Sound Package (NKS Integration), White
- 25 VELOCITY-SENSITIVE KEYS FOR DYNAMIC MUSIC CREATION
- INNOVATIVE 4-WAY THUMBSTICK FOR PRECISE CONTROL
- INCLUDES 2 MONTHS OF SPLICE SAMPLE LIBRARY ACCESS
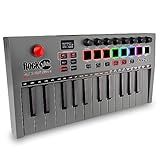
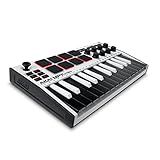
RockJam 25 Key Bluetooth Midi Keyboard
- WIRELESS CONNECTIVITY: ENJOY BLUETOOTH MIDI FOR A CLUTTER-FREE SETUP.
- ON-THE-GO MUSIC: RECHARGEABLE BATTERY FOR MUSIC ANYWHERE, ANYTIME.
- ENHANCED CONTROL: 8 TOUCH PADS AND KNOBS FOR DYNAMIC MUSIC PRODUCTION.
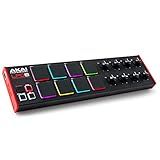
Akai Professional LPD8 - USB MIDI Controller with 8 Responsive RGB MPC Drum Pads for Mac and PC, 8 Assignable Knobs and Music Production Software
-
RESPONSIVE 13 PADS: TRIGGER SAMPLES AND LOOPS WITH 8 RGB-BACKLIT PADS.
-
TACTILE CONTROL: 8 ASSIGNABLE KNOBS FOR PRECISE MIXING IN YOUR DAW.
-
PORTABLE & STURDY: LIGHTWEIGHT DESIGN FOR EASY TRANSPORT AND DURABILITY.

Akai Professional MPK Mini Plus - USB MIDI Keyboard Controller with 37 Mini Keys, 8 MPC Pads, Sequencer, MIDI/CV/Gate I/O and Native Instruments Sound Package, White Limited Edition
-
FULL CREATIVE CONTROL: 37-KEY MPK MINI FOR DYNAMIC MELODIC PERFORMANCE.
-
RECORD ANYWHERE: BUILT-IN 64-STEP SEQUENCER FOR HASSLE-FREE COMPOSING.
-
COMPLETE YOUR SETUP: INCLUDES MPC BEATS AND 2 MONTHS OF SPLICE ACCESS.
Customizing MIDI controllers can be a great way to tailor your equipment to your specific needs and preferences. There are a few different methods for customizing MIDI controllers, depending on the level of customization you are looking to achieve.
One common way to customize MIDI controllers is through software mapping. Most MIDI controllers come with software that allows you to change the functions of the buttons, knobs, and sliders on the controller. This can be useful for assigning specific commands or parameters to different controls, allowing you to create a setup that works best for your workflow.
Another method for customizing MIDI controllers is through hardware modification. This involves physically changing the components of the controller to better suit your needs. This could include adding extra buttons, knobs, or sliders, removing unnecessary controls, or even changing the physical layout of the controller.
You can also customize MIDI controllers by using external software or hardware devices. For example, you could use a MIDI keyboard with customizable key labels, or a MIDI foot controller for hands-free operation. These external devices can add additional functionality to your setup and allow for more creative possibilities.
Overall, customizing MIDI controllers can be a fun and rewarding process that can greatly enhance your music-making experience. Whether you choose to customize your controller through software mapping, hardware modification, or external devices, taking the time to tailor your equipment to your specific needs can lead to a more personalized and efficient setup.
How to customize MIDI controllers for virtual instruments?
- Choose your MIDI controller: Make sure you have a MIDI controller that is compatible with your virtual instrument software. Some popular options include keyboards, drum pads, and knobs.
- Install the necessary software: Install any necessary drivers or software that may be required for your MIDI controller to communicate with your virtual instrument.
- Mapping controls: Most virtual instrument software will have the option to map the controls on your MIDI controller to various parameters within the software. This can typically be done by going into the settings or preferences menu and selecting the MIDI controller as the input device.
- Assigning controls: Once you have mapped your MIDI controller, you can start assigning controls to parameters within your virtual instrument. This can vary depending on the software you are using, but common parameters include volume, pitch, modulation, and effects.
- Experiment and customize: Take some time to experiment with different control assignments and find a setup that works best for you. You can customize the controls to match your playing style and preferences.
- Save your presets: Once you have customized your MIDI controller for your virtual instrument, make sure to save your presets so you can easily recall your settings the next time you use the software.
- Practice and refine: Spend time practicing with your customized MIDI controller setup and refine it as needed. The more you use it, the more you will be able to fine-tune your setup to suit your needs.
How to customize MIDI controllers for DJing?
- Choose the right MIDI controller: The first step is to select a MIDI controller that suits your DJing style and preferences. Look for a controller that has all the necessary features like jog wheels, faders, knobs, and buttons for controlling various functions.
- Connect your MIDI controller: Once you have chosen your MIDI controller, connect it to your computer or laptop using a USB cable. Make sure that the controller is recognized by your DJ software.
- Map your MIDI controller: Mapping is the process of assigning MIDI messages to different functions within your DJ software. Most DJ software programs have a mapping feature that allows you to easily customize your MIDI controller. You can assign different knobs, faders, and buttons on your controller to control functions like volume, EQ, effects, and more.
- Customize your mappings: After mapping your MIDI controller, you can further customize the mappings to suit your workflow and preferences. You can assign specific functions to different knobs and buttons, create custom presets, and adjust sensitivity settings.
- Test your MIDI controller: Once you have customized your MIDI controller, test it out to make sure everything is working properly. Try mixing tracks, adjusting EQ settings, adding effects, and using other functions to ensure that your controller is responding correctly.
- Save your settings: Once you are satisfied with your mappings and customization, save your settings in your DJ software. This will allow you to quickly load your customized settings every time you use your MIDI controller.
- Practice and refine: The key to mastering your customized MIDI controller is to practice using it regularly. Experiment with different mappings, explore new features, and refine your settings to improve your DJing skills. Over time, you will become more comfortable and proficient with your customized MIDI controller.
How to customize MIDI controllers for specific genres of music?
- Identify the characteristics of the genre: Before customizing your MIDI controller, it is important to first understand the key elements and characteristics of the specific genre of music you are working with. For example, electronic dance music may require a lot of intricate control over synthesizers and effects, while hip hop may need precise control over drum beats and samples.
- Choose the right MIDI controller: Consider the type of MIDI controller that would best suit your genre of music. For electronic music, a controller with a lot of knobs and sliders for tweaking synth parameters may be ideal, while for live performances, a controller with drum pads or keys may be more appropriate.
- Customize mapping and presets: Many MIDI controllers allow you to customize the mapping of knobs, sliders, and buttons to different parameters in your DAW or music software. Create presets that are tailored to the specific needs of your genre, assigning different controls to parameters such as filter cutoff, resonance, LFO rate, etc.
- Utilize MIDI mapping software: There are several software programs available that allow you to easily map MIDI controls to various parameters in your DAW. Use these tools to create custom mappings that suit the requirements of your genre, saving you time and effort in the long run.
- Experiment and refine: Once you have customized your MIDI controller for your chosen genre, take the time to experiment and refine your setup. Play around with different mappings and presets, and make adjustments as needed to optimize your workflow and sound.
By following these steps and taking the time to customize your MIDI controller for specific genres of music, you can enhance your creativity and productivity in the studio or on stage.