Best MIDI Controllers to Buy in July 2026
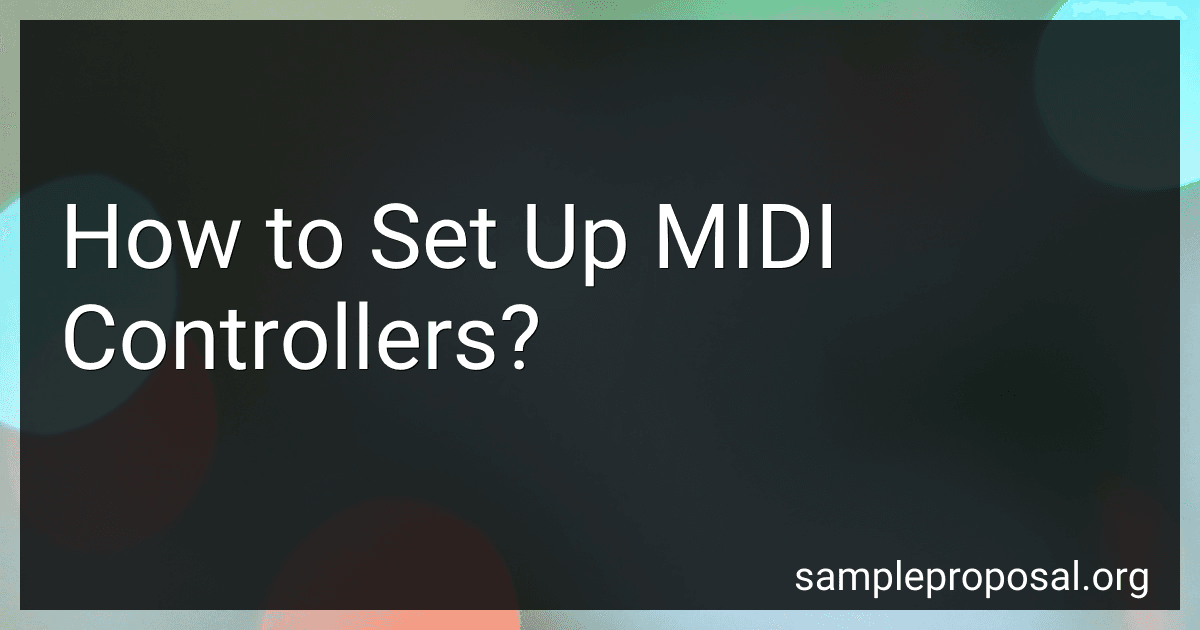
Akai Professional MPK Mini MK3-25 Key USB MIDI Keyboard Controller With 8 Backlit Drum Pads, 8 Knobs, Music Production Software and Native Instruments Sound Package (NKS Integration)
-
USB-POWERED MIDI CONTROLLER: IDEAL FOR STUDIO PRODUCTION & BEAT MAKING.
-
FULL CONTROL FEATURES: 4-WAY THUMBSTICK & 8 VELOCITY-SENSITIVE PADS ENHANCE CREATIVITY.
-
EXCLUSIVE NKS BUNDLE: CHOOSE FROM CURATED SOUND PACKS TO EXPAND YOUR LIBRARY!


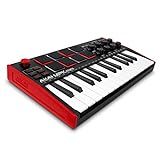
Akai Professional MPK Mini MK3-25 Key USB MIDI Keyboard Controller With 8 Backlit Drum Pads, 8 Knobs, Music Production Software and Native Instruments Sound Package (NKS Integration), Black
- 25 VELOCITY-SENSITIVE KEYS FOR DYNAMIC MUSIC CREATION
- INNOVATIVE 4-WAY THUMBSTICK FOR PITCH AND MODULATION CONTROL
- EXCLUSIVE NKS BUNDLE WITH 1500+ SOUNDS FOR INSTANT PRODUCTION
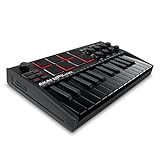
Akai Professional MPK Mini MK3-25 Key USB MIDI Keyboard Controller With 8 Backlit Drum Pads, 8 Knobs, Music Production Software and Native Instruments Sound Package (NKS Integration), White
- PORTABLE MIDI CONTROLLER: USB-POWERED WITH 25 VELOCITY-SENSITIVE KEYS.
- DYNAMIC CONTROL: 4-WAY THUMBSTICK & ARPEGGIATOR FOR EXPRESSIVE SOUNDS.
- EXCLUSIVE NKS BUNDLE: CHOOSE FROM CURATED KOMPLETE 15 SELECT PACKS!
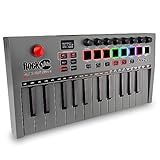
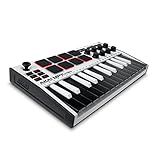
RockJam 25 Key Bluetooth Midi Keyboard
-
WIRELESS FREEDOM: BLUETOOTH MIDI FOR A CLUTTER-FREE SETUP ANYWHERE.
-
RECHARGEABLE BATTERY: PLAY MUSIC ON THE GO-PERFECT FOR TRAVELING MUSICIANS.
-
VERSATILE CONTROLS: 8 BACKLIT PADS AND KNOBS FOR COMPLETE MUSIC PRODUCTION.
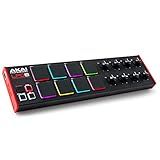
Akai Professional LPD8 - USB MIDI Controller with 8 Responsive RGB MPC Drum Pads for Mac and PC, 8 Assignable Knobs and Music Production Software
- RESPONSIVE PADS: 8 RGB-BACKLIT PADS FOR DYNAMIC SAMPLE TRIGGERING.
- SEAMLESS CONTROL: 8 ASSIGNABLE KNOBS FOR PRECISE MIXING AND MAPPING.
- PORTABLE DESIGN: LIGHTWEIGHT, DURABLE, FITS EASILY IN LAPTOP BAGS.
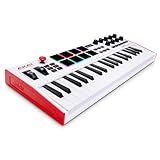
Akai Professional MPK Mini Plus - USB MIDI Keyboard Controller with 37 Mini Keys, 8 MPC Pads, Sequencer, MIDI/CV/Gate I/O and Native Instruments Sound Package, White Limited Edition
-
DYNAMIC 37-KEY CONTROL: FULL CREATIVE POWER WITH VERSATILE KEYBED.
-
ADVANCED CONNECTIVITY: EASILY INTEGRATE MODULAR GEAR AND SYNTHS.
-
COMPLIMENTARY NKS BUNDLE: CHOOSE CURATED SOUND LIBRARIES FOR FREE!
Setting up MIDI controllers involves connecting them to your computer or audio interface using USB cables, installing any necessary drivers or software, and configuring them in your digital audio workstation or music production software.
First, plug in your MIDI controller to your computer using a USB cable. Make sure the controller is powered on.
Next, check if any drivers or software need to be installed for the controller to work properly. This information can usually be found on the manufacturer's website.
Once everything is connected and installed, open up your digital audio workstation or music software. Go to the settings or preferences menu and look for the MIDI devices section.
In the MIDI devices section, you should see your MIDI controller listed. Make sure it is enabled and set as the input device for MIDI input.
You may also need to set up specific MIDI mappings or assignments for your controller in your software, depending on the functions you want to control.
Test that your MIDI controller is working properly by playing some notes on a virtual instrument or controlling parameters in your software.
Once everything is set up and working correctly, you can start using your MIDI controller to make music, control virtual instruments, or automate parameters in your software.
What is the importance of MIDI controller presets?
MIDI controller presets are important because they allow musicians and producers to easily access specific settings and configurations for their MIDI controller without having to manually adjust them each time they use the controller. This can save time and streamline the workflow, making it easier to quickly switch between different setups or instruments. Presets can also help ensure consistency in sound and performance, especially for live performances where quick changes are necessary. Additionally, presets can be customized and saved to suit individual preferences and specific musical needs.
How to customize MIDI controller settings for specific software?
- Download and install any necessary drivers or software for your MIDI controller on your computer.
- Open the software you wish to customize the MIDI controller settings for.
- Go to the Preferences or Settings menu in the software. Look for a section related to MIDI or external controllers.
- In the MIDI or external controller section, you should see a list of available MIDI devices. Select your MIDI controller from the list.
- Check for mapping options or customization settings for the MIDI controller within the software. This will vary depending on the software you are using.
- Follow the instructions provided by the software to map specific buttons, knobs, sliders, or pads on your MIDI controller to functions within the software.
- Save your custom MIDI controller settings within the software.
- Test out the customized settings on your MIDI controller to ensure they are working correctly with the software.
- Make any necessary adjustments or tweaks to the custom settings as needed.
- Save your custom settings within the software and your MIDI controller should now be set up to work specifically with that software.
How to set up MIDI controllers for DJing?
Setting up MIDI controllers for DJing involves a few steps:
- Connect your MIDI controller to your computer using a USB cable.
- Install any necessary drivers or software for your specific MIDI controller. Check the manufacturer's website for the latest drivers and software.
- Open your DJ software and go to the settings or preferences menu. Look for an option to select your MIDI controller as the input device.
- Map your MIDI controller's buttons, knobs, and faders to the functions in the DJ software. Most DJ software allows you to customize the mapping of your controller by assigning specific functions to different buttons and knobs.
- Test your MIDI controller to make sure all the buttons, knobs, and faders are working correctly. You can do this by playing a track in your DJ software and adjusting the volume, EQ, and other settings using your MIDI controller.
- Save your MIDI mapping settings so you can easily load them again in the future.
- Start DJing with your MIDI controller! Experiment with different mappings and settings to find the setup that works best for you.
What is the role of MIDI controllers in digital mixing consoles?
MIDI controllers play a crucial role in digital mixing consoles by allowing users to easily manipulate various parameters and settings via physical knobs, faders, and buttons. These controllers enable users to have hands-on control over elements such as volume levels, EQ settings, effects, and more, providing a tactile and intuitive way to interact with digital audio software. This can greatly enhance the workflow and efficiency of mixing and editing audio, as well as provide a more engaging and personalized experience for the user. MIDI controllers can also be customized and programmed to suit the specific needs and preferences of the user, allowing for a highly versatile and adaptable control system.
How to set up MIDI controllers for controlling video playback?
To set up MIDI controllers for controlling video playback, follow these steps:
- Connect your MIDI controller to your computer using a USB cable or MIDI interface.
- Open your preferred video playback software (such as Resolume, VDMX, or Modul8) and go to the settings or preferences menu.
- Look for a section related to MIDI or external control devices. This is where you will be able to assign MIDI controls to various functions within the software.
- Press a button, twist a knob, or move a fader on your MIDI controller. You should see a corresponding message appear in the software indicating that the MIDI controller has been recognized.
- Assign the MIDI control to the specific function you want to control. This could include playback controls (play, pause, stop), video effects, transitions, or any other parameter that can be controlled with MIDI.
- Test out your setup by pressing the assigned MIDI controls on your controller and see if they activate the desired functions in the video playback software.
- Fine-tune your setup by adjusting MIDI mappings, sensitivity settings, or any other parameters to optimize the control of video playback with your MIDI controller.
- Save your settings so that you can easily recall them in the future.
By following these steps, you should be able to set up your MIDI controller to control video playback with ease. Enjoy experimenting with different ways to interact with your videos using your MIDI controller!
What is the relationship between MIDI controllers and DAWs?
MIDI controllers and DAWs (Digital Audio Workstations) are often used together in the process of music production.
MIDI controllers are hardware devices that use MIDI (Musical Instrument Digital Interface) technology to send signals to a computer or other electronic device. These signals can control various aspects of a DAW, such as virtual instruments, effects, and mix parameters. Common types of MIDI controllers include keyboards, drum pads, and control surfaces.
DAWs, on the other hand, are software applications used for recording, editing, and producing audio. They provide a platform for musicians and producers to create and arrange music, as well as manipulate audio files using various tools and effects.
When used together, MIDI controllers can be used to input musical data into a DAW, such as playing virtual instruments, triggering samples, or adjusting parameters in real-time. This allows for a more hands-on and interactive approach to music production, as opposed to using a mouse and keyboard. MIDI controllers can greatly enhance the workflow and creativity of users working in a DAW environment.